One thing I love about West Virginia is how lush it is. It has SO many wild foods — including the little orange trumpet mushrooms called chanterelles. These tasty mushrooms start popping up after mid-summer rains around the beginning of July. I’ve found them the past two years on the 4th of July in north central WV.
As I like to mention, please make sure you have some experience or check with an experienced mushroomer. Chanterelles do have a false friend: Jack-o-lantern mushrooms.
Jack-o-lantern mushrooms are also orange and feature gills instead of the chanterelles’ ridges. They grow moreso in bunches versus the slightly more spread out chanterelles. Please pick with caution.
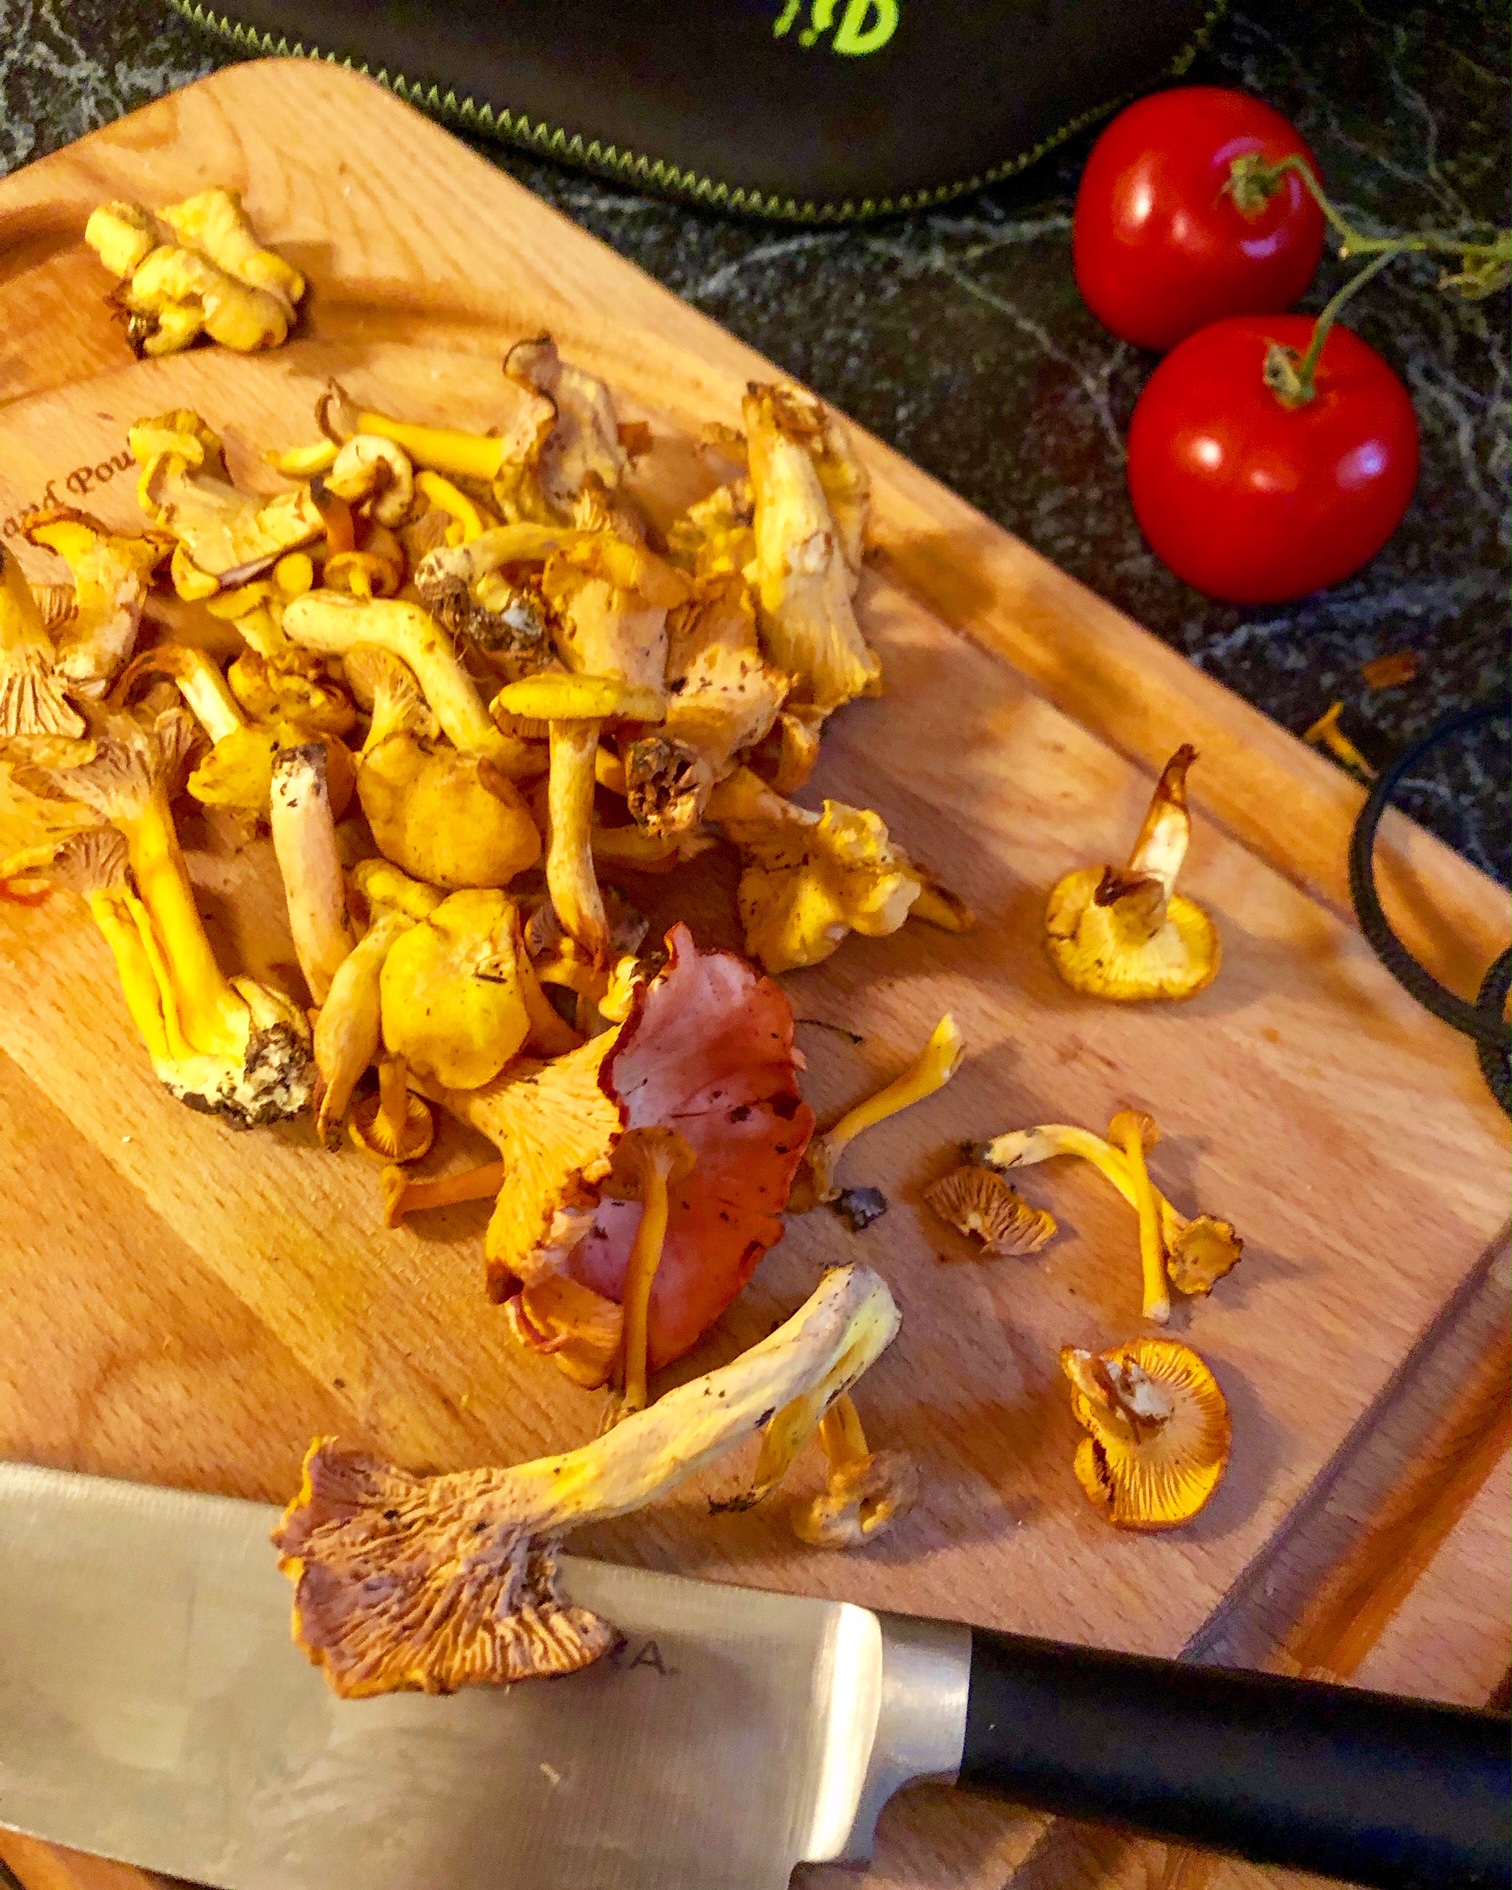
Once you do get your hands on these true orange beauties, there are so many great ways to prepare them. First (as we do with all mushrooms), soak them in salt water for several rinses to wash away debris and bugs. Once they are ready, you can slices them up depending on recipe.
The below chanterelle recipe was inspired by a dish I recently had in Germany: chanterelle bruschetta — wild mushrooms tossed with tomatoes and basil on grilled baguette slices. Back home, we made a warm version of this to top our Independence Day burgers.
Warm Tomato and Chanterelle Topping
2 vine-ripened tomatoes
8-10 chanterelles, washed and chopped
1 tsp dried basil
1 tsp dried oregano
1-2 Tb olive oil
Pinch of salt
Heat olive oil in pan and toss in tomatoes until simmering. Add mushroom slices. Sprinkle in salt, basil, and oregano to taste. Serve on top of grilled burgers, warm sandwiches, or toast.